
用這個Python庫,10行代碼搞定圖像中目標(biāo)檢測
大家好,歡迎來到 Crossin的編程教室 !
目標(biāo)檢測是指計算機和軟件系統(tǒng)對圖像或場景中的目標(biāo)進行定位和識別的任務(wù)。
目標(biāo)檢測已廣泛應(yīng)用于人臉檢測、車輛檢測、人流量統(tǒng)計、網(wǎng)絡(luò)圖像、安防系統(tǒng)和無人駕駛等多個領(lǐng)域。
早期目標(biāo)檢測的實現(xiàn)基于經(jīng)典算法,比如流行的計算機視覺庫OpenCV中支持的算法。然而,這些經(jīng)典算法在不同的條件下無法獲得穩(wěn)定的性能。
2012年深度學(xué)習(xí)的突破性進展和迅速普及,使得R-CNN、Fast-RCNN、Faster-RCNN、RetinaNet以及快速、高度準(zhǔn)確的SSD、YOLO等目標(biāo)檢測算法應(yīng)運而生。
這些基于深度學(xué)習(xí)、機器學(xué)習(xí)的算法,需要一定的數(shù)學(xué)以及深度學(xué)習(xí)框架基礎(chǔ)。有數(shù)百萬的專業(yè)計算機程序員和軟件開發(fā)人員想要集成和創(chuàng)建基于目標(biāo)檢測算法的新產(chǎn)品。同時由于理解和實際使用較為復(fù)雜,一直無法實現(xiàn)。如何開發(fā)出高效的目標(biāo)檢測代碼呢?
ImageAI就應(yīng)運而生了。
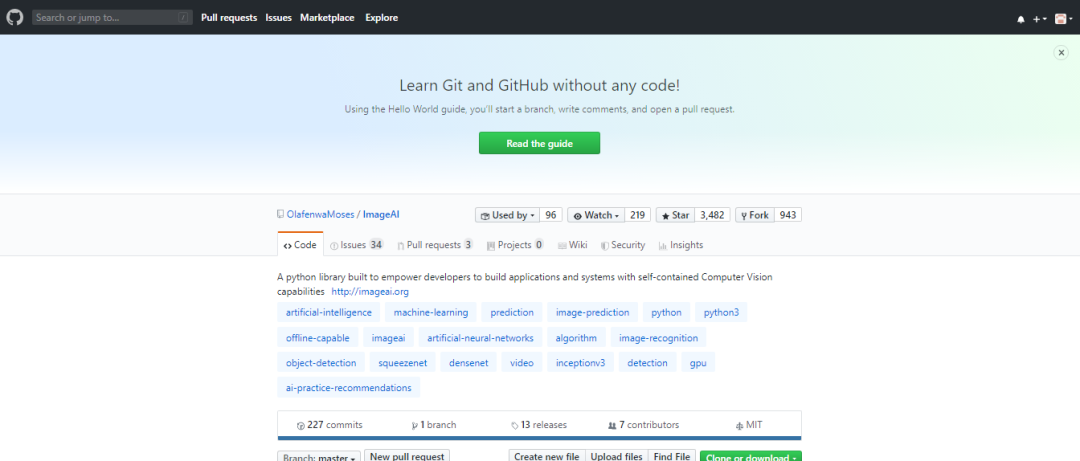
01 ImageAI讓代碼變得簡潔
https://github.com/OlafenwaMoses/ImageAI
02 準(zhǔn)備工作
在你的電腦上安裝Python 安裝ImageAI,配置依賴環(huán)境 下載目標(biāo)檢測模塊文件 運行樣例代碼(只需10行)
pip install tensorflowpip install numpypip install scipypip install opencv-pythonpip install pillowpip install matplotlibpip install h5pypip install keraspip3 install imageai --upgrade
pip install imageai-2.0.2-py3-none-any.whlhttps://github.com/OlafenwaMoses/ImageAI/releases/download/2.0.2/imageai-2.0.2-py3-none-any.whl
https://github.com/OlafenwaMoses/ImageAI/releases/download/1.0/resnet50_coco_best_v2.0.1.h5
03 開啟10行代碼的目標(biāo)檢測
from imageai.Detection import ObjectDetection
import os
execution_path = os.getcwd()
detector=ObjectDetection()
detector.setModelTypeAsRetinaNet()
detector.setModelPath( os.path.join(execution_path , "resnet50_coco_best_v2.0.1.h5"))
detector.loadModel()
detections = detector.detectObjectsFromImage(input_image=os.path.join(execution_path , "image.jpg"), output_image_path=os.path.join(execution_path , "imagenew.jpg"))
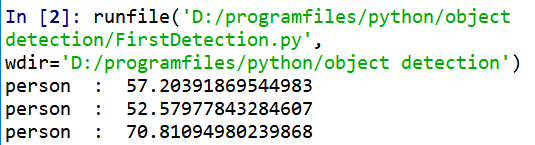
for eachObject in detections:
print(eachObject["name"] , " : " , eachObject["percentage_probability"] )


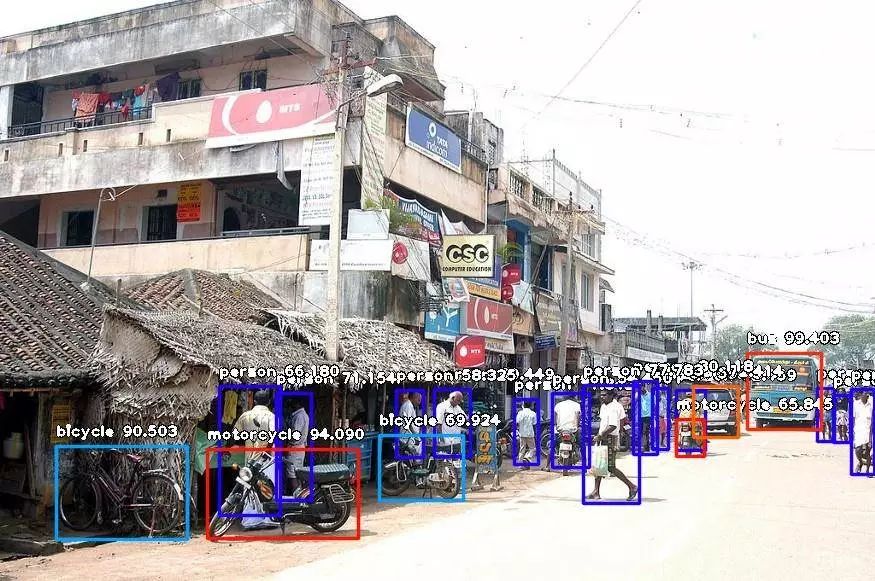
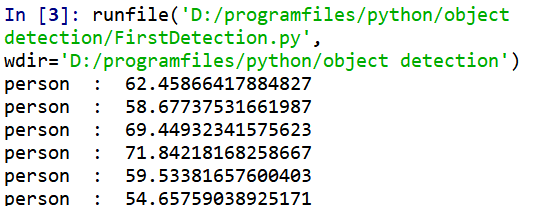
在Spyder編譯器中運行結(jié)果如下所示:
from imageai.Detection

import ObjectDetectionimport

osexecution_path = os.getcwd()detector=ObjectDetection()
detector.setModelTypeAsRetinaNet()
detector.setModelPath( os.path.join(execution_path , "resnet50_coco_best_v2.0.1.h5"))
detector.loadModel()
detections = detector.detectObjectsFromImage(input_image=os.path.join(execution_path , "image.jpg"), output_image_path=os.path.join(execution_path , "imagenew.jpg"))for eachObject in detections:
print(eachObject["name"] , " : " , eachObject["percentage_probability"] )extract_detected_objects=TruedetectObjectsFromImagedetections, extracted_images = detector.detectObjectsFromImage(input_image=os.path.join(execution_path , "image.jpg"), output_image_path=os.path.join(execution_path , "imagenew.jpg"), extract_detected_objects=True)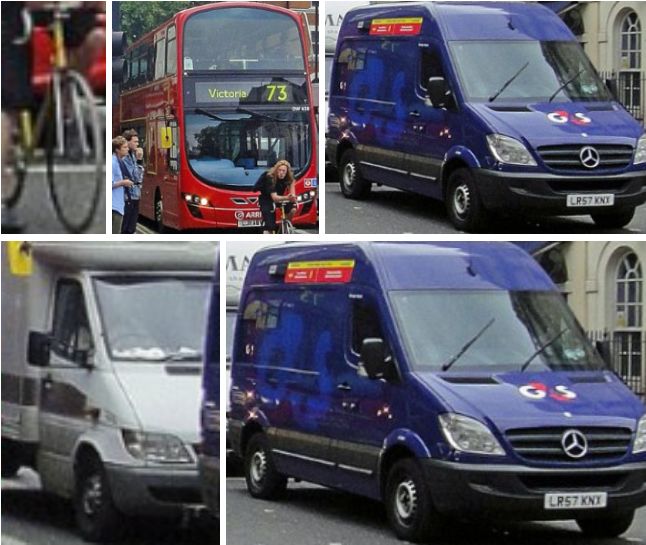
調(diào)整最小概率:默認(rèn)情況下,概率小于50%的物體不會顯示。對于需要高精度的情況,可以增加此值;對于需要檢測所有可能對象的情況,可以減少此值。 自定義目標(biāo)檢測:通過提供的CustomObject類,可以使檢測類檢測一個或幾個特定目標(biāo)。 檢測速度:通過將檢測速度設(shè)置為“fast”、“faster”或“fastest”,可以減少檢測圖像所需的時間。 輸入類型:可指定并解析圖像的文件路徑,以Numpy數(shù)組或圖像文件流作為輸入 輸出類型:可指定detectObjectsFromImage函數(shù)以文件或Numpy數(shù)組的形式返回圖像
_往期文章推薦_