Vite2 + Vue3 + Typescript 入門級教程
Vite2 + Vue3 + Typescript 入門級教程
新建項目
創(chuàng)建項目目錄 todoList
我們來到 Vite2 的官網,網址如下:
https://vitejs.dev/guide/#scaffolding-your-first-vite-project
Vite2 內置了很多中模板:
vanilla
vue
vue-ts
react
react-ts
preact
preact-ts
lit-element
lit-element-ts
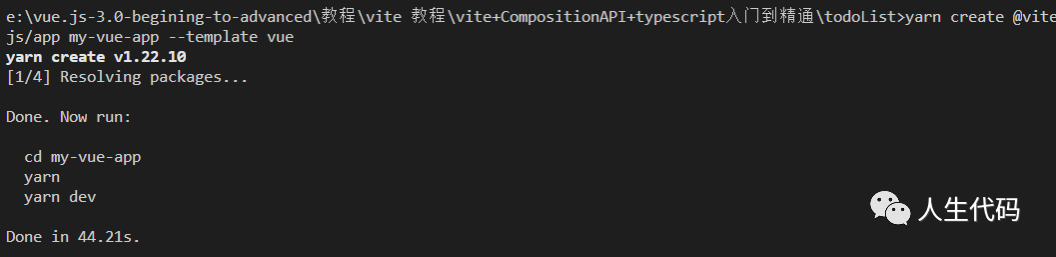
今天我們選擇 vue 這個模板來創(chuàng)建項目:
# npm 6.x
npm init @vitejs/app my-vue-app --template vue

# npm 7+, extra double-dash is needed:
npm init @vitejs/app my-vue-app -- --template vue

# yarn
yarn create @vitejs/app my-vue-app --template vue
安裝 typescript
yarn add typescript

接著使用以下命令來初始化 ts 配置:
npx tsc --init

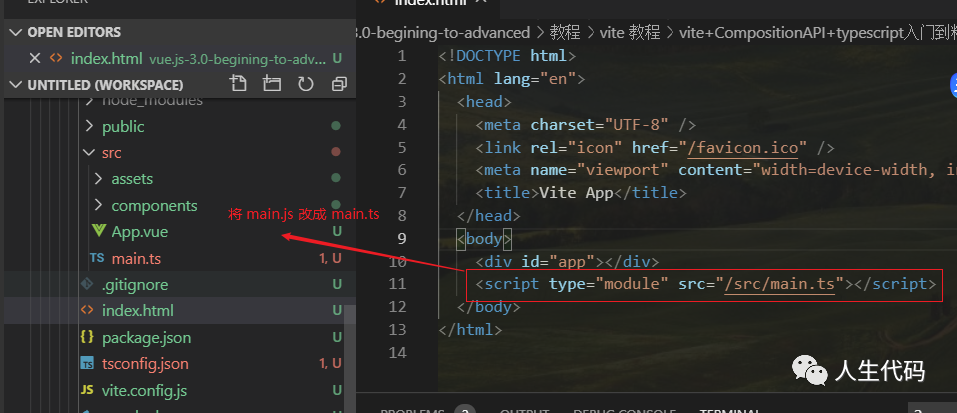
接著我們將 main.js 修改為 main.ts

接著我們將 index.html 中的:
<script type="module" src="/src/main.js"></script>
改成如下:
<script type="module" src="/src/main.ts"></script>
這個時候我們發(fā)現(xiàn) App.vue 會有警告:
這是怎么回事呢?
/**
 * shim.d.ts的作用
 * 為了 typescript 做的適配定義文件,因為.vue 文件不是一個常規(guī)的文件類型,ts 是不能理解 vue 文件是干嘛的,
 * 加這一段是是告訴 ts,vue 文件是這種類型的。
 * 可以把這一段刪除,會發(fā)現(xiàn) import 的所有 vue 類型的文件都會報錯。
 */
所以我們需要在項目根目錄創(chuàng)建 shim.d.ts 來定義 .vue 模塊:
declare module "*.vue" {
    import { Component } from "vue";
    const component: Component;
    export default component;
}
這個時候 App.vue 就不會報錯了。
安裝 vue-router vuex
yarn add vue-router@4.x vuex@4.x

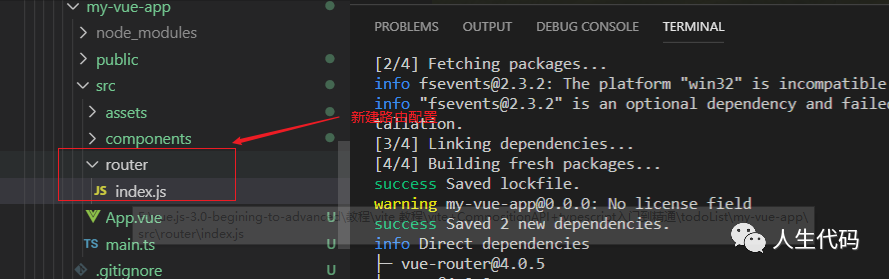
在 src 目錄新建 router/index.ts:
import {createRouter, createWebHashHistory} from 'vue-router'

// 在 Vue-router新版本中,需要使用createRouter來創(chuàng)建路由
export default createRouter({
  // 指定路由的模式,此處使用的是hash模式
  history: createWebHashHistory(),
  // 路由地址
  routes: []
})
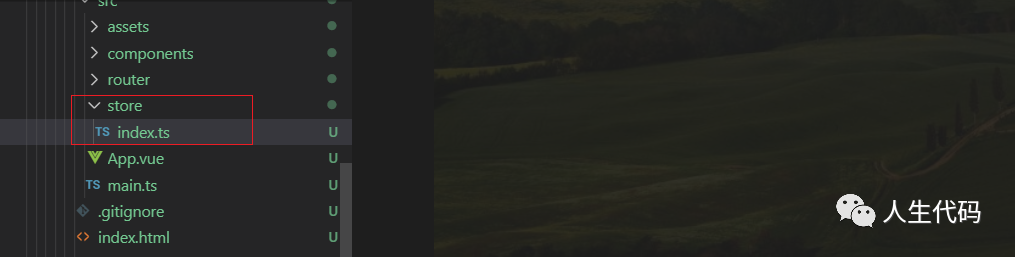
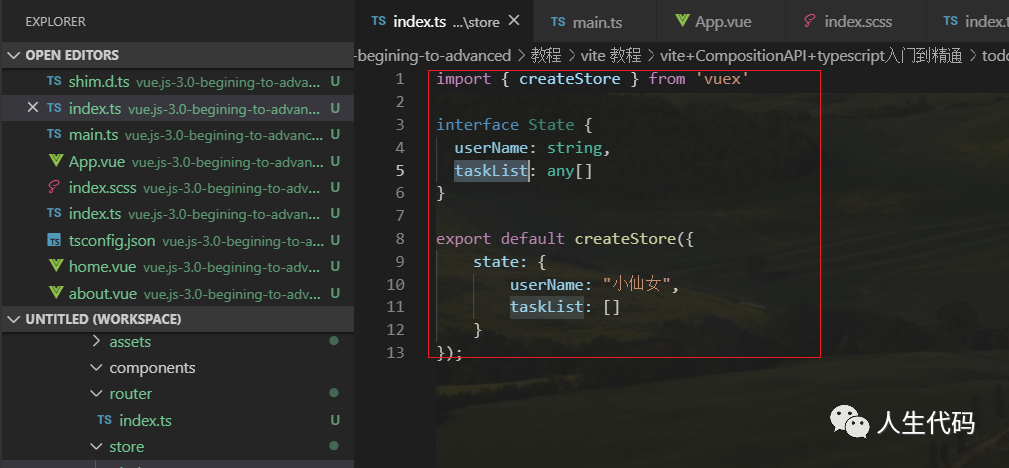
接著在 src 中新建 store/index.ts:
import { createStore } from 'vuex'
// ts 中接口數據
interface State {
  userName: string,
  taskList: any[]
}

let state: State = {
    userName: "小仙女",
    taskList: []
}

export default createStore({
    state,
});
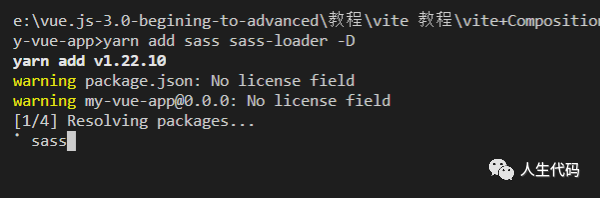
安裝 sass sass-loader
yarn add sass sass-loader -D
然后在根目錄下新建 index.scss:
#app {
  font-family: Avenir, Helvetica, Arial, sans-serif;
  -webkit-font-smoothing: antialiased;
  -moz-osx-font-smoothing: grayscale;
  text-align: center;
  color: #2c3e50;
}
#nav {
  padding: 30px;
  a {
    font-weight: bold;
    color: #2c3e50;
    &.router-link-exact-active {
      color: #42b983;
    }
  }
}

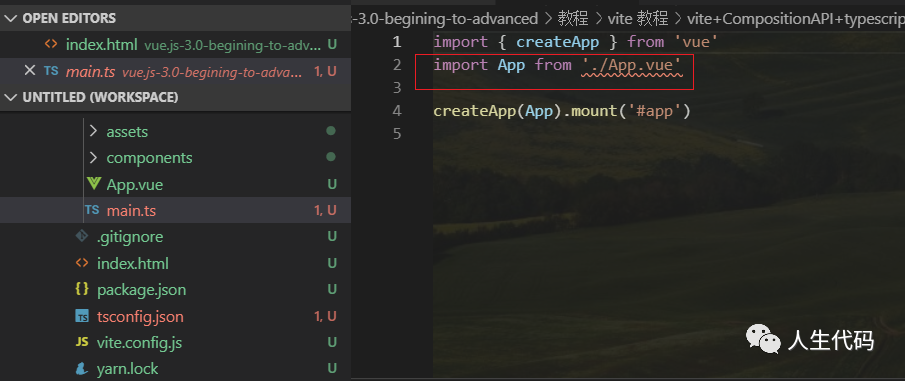
然后在 main.ts 引入代碼:
import { createApp } from 'vue'
import App from './App.vue'
import './index.scss'
import router from './router/index'
import vuex from './store/index'

const  app = createApp(App)

app.use(router)
app.use(vuex)
app.mount('#app')

配置路由
首先我們需要在 src 下新建 views/home.vue:
<template>
  <div class="home">
    <!-- input輸入list內容 -->
    <div>
      <input
        @keyup.enter="addTask"
        class="input"
        type="text"
        v-model="inputValue"
        placeholder="請輸入"
      />
    </div>
    <!-- todoList內容展示和刪除 -->
    <ul class="ul">
      <li class="item" v-for="(item, index) in taskList" :key="index">
        <p
          @click="updateStatus(index, !item.isfinished)"
          class="content"
          :class="item.isfinished ? 'active' : ''"
        >{{item.lable}}</p>
        <div class="item-delete" @click="deleteTask(index)">X</div>
      </li>
      <li v-if="taskList.length === 0" class="item-none">暫無數據</li>
    </ul>
  </div>
</template>

<style scoped lang='scss'>
* {
  box-sizing: border-box;
  margin: 0;
  padding: 0;
}
ul,
li {
  list-style: none;
  text-align: left;
}
.home {
  max-width: 400px;
  margin: 0 auto;
  .input {
    width: 100%;
    height: 40px;
    border-radius: 5px;
    outline-style: none;
    border: 2px solid #999;
    padding: 5px 10px;
  }
  .ul {
    margin-top: 10px;
  }
  .item {
    height: 40px;
    line-height: 40px;
    padding-bottom: 5px;
    border-bottom: 1px solid #dcdfe6;
    color: #333333;
  }
  .item-none {
    height: 40px;
    line-height: 40px;
    padding-bottom: 5px;
    color: #333333;
    text-align: center;
  }
  .content {
    float: left;
    height: 40px;
    line-height: 40px;
    cursor: pointer;
  }
  p.active {
    text-decoration:line-through;
    color: #999999;
  }
  .item-delete {
    float: right;
    width: 25px;
    text-align: center;
    cursor: pointer;
  }
}
</style>
在 src 新建 views/about.vue:
<template>
    <div id="about" class="about-wrap">
        about
    </div>
</template>

<script>
export default {
    name: 'about'
}
</script>
然后在 router/index.ts 配置路由:
import {createRouter, createWebHashHistory} from 'vue-router'

// 在 Vue-router新版本中,需要使用createRouter來創(chuàng)建路由
export default createRouter({
  // 指定路由的模式,此處使用的是hash模式
  history: createWebHashHistory(),
  // 路由地址
  routes: [
      {
          path: '/',
          name: 'home',
          component: () => import('../views/home.vue')
      },
      {
          path: '/about',
          name: 'about',
          component: () => import('../views/about.vue')
      }
  ]
})
在配置路由的這個過程你可能會碰到這個問題:
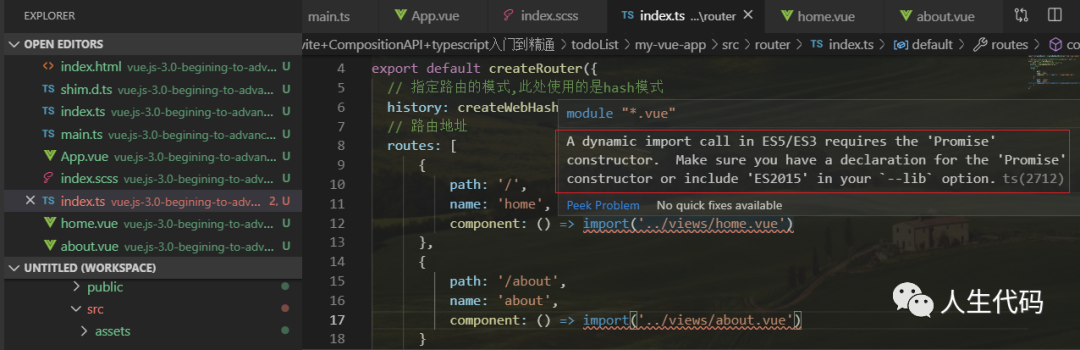
解決的方式如下:
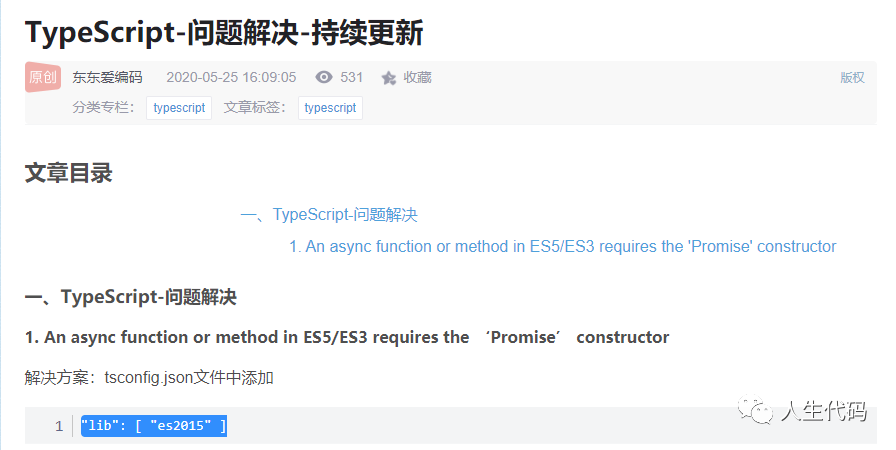
在 tsconfig.json 下來配置:
"lib": ["es2015"]
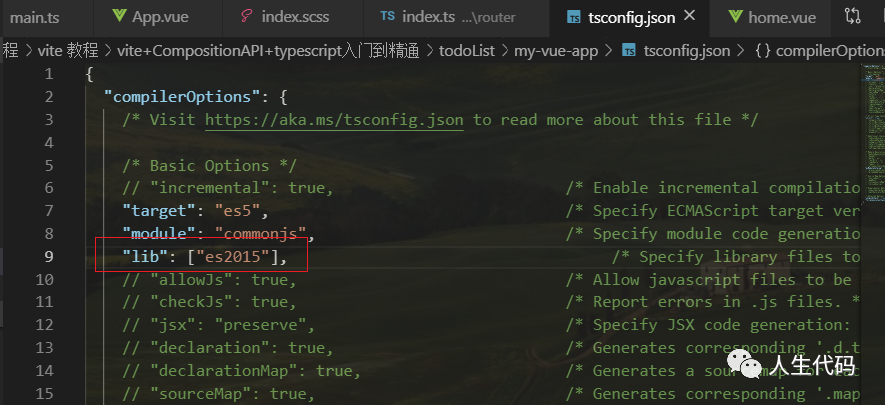
這個時候,報錯就解除了。
然后在 App.vue:
<template>
  <div id="app-wrap">
    <div class="nav" id="nav">
      <router-link to='/'>todoList</router-link>
      <router-link to='/about'>about</router-link>
    </div>
    <router-view></router-view>
  </div>
</template>

<script lang="ts">

export default {
  name: 'App',
  components: {}
}

// This starter template is using Vue 3 experimental <script setup> SFCs
// Check out https://github.com/vuejs/rfcs/blob/script-setup-2/active-rfcs/0000-script-setup.md
</script>
添加任務
我們需要一個 store 倉庫來保存任務列表,每個列表項有一個狀態(tài)標識。
在 store/index.ts:
import { createStore } from 'vuex'
// 定義一個接口數據,用來限定 state 里面有兩個屬性
// 一個是 userName
// 一個是 taskList
interface State {
  userName: string,
  taskList: any[]
}

let state: State = {
    userName: "小仙女",
    taskList: []
}

export default createStore({
    state
})
頁面上我們需要輸入框輸入內容之后,回車觸發(fā)向倉庫添加數據,在 views/home.vue 添加如下代碼:
<script lang="ts">
import { ref, computed, defineComponent } from 'vue'
import { useStore } from 'vuex'
export default defineComponent({
  name: "home",
  setup() {
      // 使用 hook 的方式,拿到 store 倉庫
      const store = useStore()
      // 通過 get 的方式鏈接 store.state.taskList
      const taskList = computed(() => store.state.taskList)
      // 綁定輸入框
      let inputValue = ref("")
      // 向數據倉庫提交一個 createTask 方法修改 taskList 數組
      // 修改之后將 inputValue 制空
      const addTask = () => {
          store.commit('createTask', {
              lable: inputValue.value,
              isfinished: false
          })

          inputValue.value = ""
      }

      return {
          taskList,
          inputValue,
          addTask,
      }
  }
});
</script>
接下來我們需要在 store/index.ts 給數據倉庫定義 mutations,用來接收外部提交的執(zhí)行的方法:
export default createStore({
    state,
    mutations: {
        createTask(state: any, newTask: any) {
            state.taskList.push(newTask)
        },
    }
});
更新任務
當我們點擊任務列表項時,需要重新設置列表項的狀態(tài)值,所以我們需要在 views/home.vue 定義一個更新狀態(tài)的方法,這個方法只需要傳遞列表項的下標以及狀態(tài)值:
<script lang="ts">
import { ref, computed, defineComponent } from 'vue'
import { useStore } from 'vuex'
export default defineComponent({
  name: "home",
  setup() {
      const store = useStore()
      const taskList = computed(() => store.state.taskList)
      let inputValue = ref("")

      const addTask = () => {
          store.commit('createTask', {
              lable: inputValue.value,
              isfinished: false
          })

          inputValue.value = ""
      }

      const updateStatus = (index, status) => {
          store.commit('updateStatus', {
              index,
              status
          })
      }

      return {
          taskList,
          inputValue,
          addTask,
          updateStatus,
      }
  }
});
</script>
然后我們需要在 store/index.ts 添加更新任務的方法:
export default createStore({
    state,
    mutations: {
        createTask(state: any, newTask: any) {
            state.taskList.push(newTask)
        },
        // 接收 state, payload
        updateStatus(state: any, payload: any) {
            // 解構 index, status
            const {index, status} = payload
            // 修改列表項的狀態(tài)
            state.taskList[index].isfinished = status
        },
    }
});
刪除任務
當我們點擊列表項的刪除按鈕的時候,需要向倉庫提交方法刪除列表項,所以我們需要在 views/home.vue 下添加刪除任務的方法,只需要將下標傳遞過去就行:
<script lang="ts">
import { ref, computed, defineComponent } from 'vue'
import { useStore } from 'vuex'
export default defineComponent({
  name: "home",
  setup() {
      const store = useStore()
      const taskList = computed(() => store.state.taskList)
      let inputValue = ref("")

      const addTask = () => {
          store.commit('createTask', {
              lable: inputValue.value,
              isfinished: false
          })

          inputValue.value = ""
      }

      const updateStatus = (index, status) => {
          store.commit('updateStatus', {
              index,
              status
          })
      }

      const deleteTask = (index) => {
          store.commit('deleteTask', {
              index
          })
      }

      return {
          taskList,
          inputValue,
          addTask,
          updateStatus,
          deleteTask
      }
  }
});
</script>
然后在 store/index.ts 新增刪除方法:
export default createStore({
    state,
    mutations: {
        createTask(state: any, newTask: any) {
            state.taskList.push(newTask)
        },
        updateStatus(state: any, payload: any) {
            const {index, status} = payload
            state.taskList[index].isfinished = status
        },
        // 刪除任務方法
        deleteTask(state, payload: any) {
            // 只需要解構 index
            const {index} = payload
            // 將對應的數據刪除即可
            state.taskList.splice(index, 1)
        }
    }
});
到此為止,我們的 todoList 已經圓滿結束了,我們來運行下,看看效果吧。