
Spring Boot 實現(xiàn)登錄攔截器,這才是正確的姿勢!!

閱讀本文大概需要 4 分鐘。
來自:https://blog.csdn.net/qq_27198345/article/details/111401610
對于管理系統(tǒng)或其他需要用戶登錄的系統(tǒng),登錄驗證都是必不可少的環(huán)節(jié),在SpringBoot開發(fā)的項目中,通過實現(xiàn)攔截器來實現(xiàn)用戶登錄攔截并驗證。
1、Spring Boot實現(xiàn)登錄攔截原理
SpringBoot通過實現(xiàn)HandlerInterceptor接口實現(xiàn)攔截器,通過實現(xiàn)WebMvcConfigurer接口實現(xiàn)一個配置類,在配置類中注入攔截器,最后再通過@Configuration注解注入配置。
1.1、實現(xiàn)HandlerInterceptor接口
實現(xiàn)HandlerInterceptor接口需要實現(xiàn)3個方法:preHandle、postHandle、afterCompletion.
3個方法各自的功能如下:
package blog.interceptor;

import blog.entity.User;
import org.springframework.web.servlet.HandlerInterceptor;
import org.springframework.web.servlet.ModelAndView;

import javax.servlet.http.HttpServletRequest;
import javax.servlet.http.HttpServletResponse;
import javax.servlet.http.HttpSession;

public class UserLoginInterceptor implements HandlerInterceptor {

    /***
     * 在請求處理之前進行調(diào)用(Controller方法調(diào)用之前)
     */
    @Override
    public boolean preHandle(HttpServletRequest request, HttpServletResponse response, Object handler) throws Exception {
        System.out.println("執(zhí)行了攔截器的preHandle方法");
        try {
            HttpSession session = request.getSession();
            //統(tǒng)一攔截(查詢當前session是否存在user)(這里user會在每次登錄成功后,寫入session)
            User user = (User) session.getAttribute("user");
            if (user != null) {
                return true;
            }
            response.sendRedirect(request.getContextPath() + "login");
        } catch (Exception e) {
            e.printStackTrace();
        }
        return false;
        //如果設置為false時,被請求時,攔截器執(zhí)行到此處將不會繼續(xù)操作
        //如果設置為true時,請求將會繼續(xù)執(zhí)行后面的操作
    }

    /***
     * 請求處理之后進行調(diào)用,但是在視圖被渲染之前(Controller方法調(diào)用之后)
     */
    @Override
    public void postHandle(HttpServletRequest request, HttpServletResponse response, Object handler, ModelAndView modelAndView) throws Exception {
        System.out.println("執(zhí)行了攔截器的postHandle方法");
    }

    /***
     * 整個請求結(jié)束之后被調(diào)用,也就是在DispatchServlet渲染了對應的視圖之后執(zhí)行(主要用于進行資源清理工作)
     */
    @Override
    public void afterCompletion(HttpServletRequest request, HttpServletResponse response, Object handler, Exception ex) throws Exception {
        System.out.println("執(zhí)行了攔截器的afterCompletion方法");
    }
}
將攔截器注冊到了
preHandle在Controller之前執(zhí)行,因此攔截器的功能主要就是在這個部分實現(xiàn):
檢查session中是否有user對象存在;
如果存在,就返回true,那么Controller就會繼續(xù)后面的操作;
如果不存在,就會重定向到登錄界面。就是通過這個攔截器,使得Controller在執(zhí)行之前,都執(zhí)行一遍preHandle.
1.2、實現(xiàn)WebMvcConfigurer接口,注冊攔截器
實現(xiàn)WebMvcConfigurer接口來實現(xiàn)一個配置類,將上面實現(xiàn)的攔截器的一個對象注冊到這個配置類中。
package blog.config;

import blog.interceptor.UserLoginInterceptor;
import org.springframework.context.annotation.Configuration;
import org.springframework.web.servlet.config.annotation.InterceptorRegistration;
import org.springframework.web.servlet.config.annotation.InterceptorRegistry;
import org.springframework.web.servlet.config.annotation.WebMvcConfigurer;

@Configuration
public class LoginConfig implements WebMvcConfigurer {

    @Override
    public void addInterceptors(InterceptorRegistry registry) {
        //注冊TestInterceptor攔截器
        InterceptorRegistration registration = registry.addInterceptor(new UserLoginInterceptor());
        registration.addPathPatterns("/**"); //所有路徑都被攔截
        registration.excludePathPatterns(    //添加不攔截路徑
                "/login",                    //登錄路徑
                "/**/*.html",                //html靜態(tài)資源
                "/**/*.js",                  //js靜態(tài)資源
                "/**/*.css"                  //css靜態(tài)資源
        );
    }
}
將攔截器注冊到了攔截器列表中,并且指明了攔截哪些訪問路徑,不攔截哪些訪問路徑,不攔截哪些資源文件;最后再以@Configuration注解將配置注入。
Spring Boot 基礎(chǔ)教程和示例代碼看這里:https://github.com/javastacks/spring-boot-best-practice
1.3、保持登錄狀態(tài)
只需一次登錄,如果登錄過,下一次再訪問的時候就無需再次進行登錄攔截,可以直接訪問網(wǎng)站里面的內(nèi)容了。
在正確登錄之后,就將user保存到session中,再次訪問頁面的時候,登錄攔截器就可以找到這個user對象,就不需要再次攔截到登錄界面了.
@RequestMapping(value = {"", "/", "/index"}, method = RequestMethod.GET)
public String index(Model model, HttpServletRequest request) {
    User user = (User) request.getSession().getAttribute("user");
    model.addAttribute("user", user);
    return "users/index";
}

@RequestMapping(value = {"/login"}, method = RequestMethod.GET)
public String loginIndex() {
    return "users/login";
}

@RequestMapping(value = {"/login"}, method = RequestMethod.POST)
public String login(@RequestParam(name = "username")String username, @RequestParam(name = "password")String password,
                    Model model, HttpServletRequest request) {
    User user = userService.getPwdByUsername(username);
    String pwd = user.getPassword();
    String password1 = MD5Utils.md5Code(password).toUpperCase();
    String password2 = MD5Utils.md5Code(password1).toUpperCase();
    if (pwd.equals(password2)) {
        model.addAttribute("user", user);
        request.getSession().setAttribute("user", user);
        return "redirect:/index";
    } else {
        return "users/failed";
    }
}
2、代碼實現(xiàn)及示例
代碼實現(xiàn)如上所示。
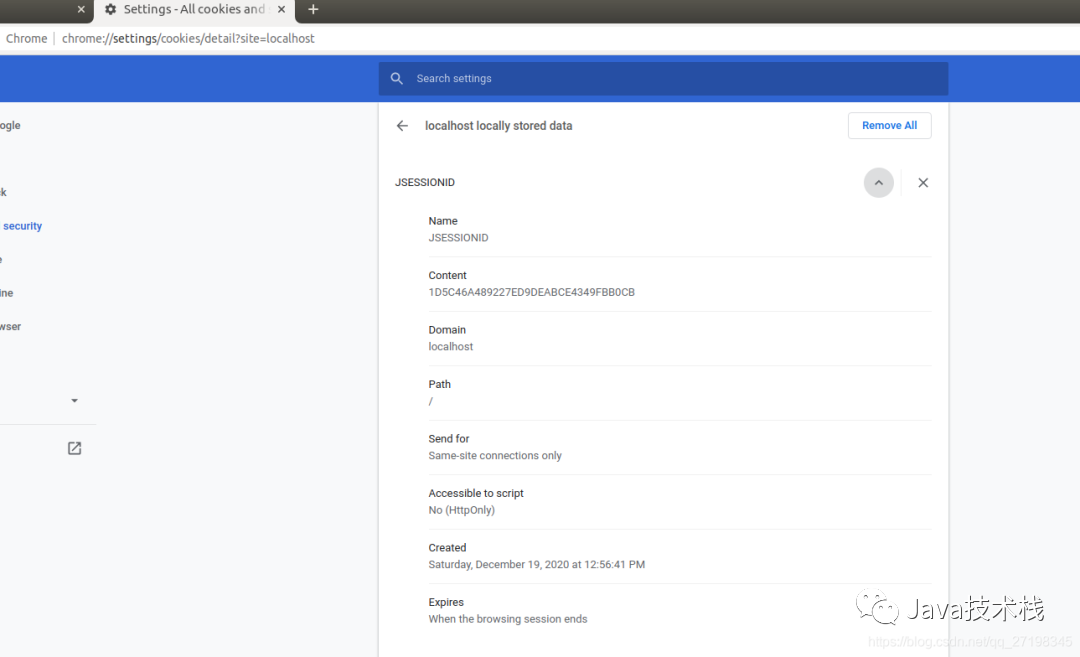
在登錄成功之后,將user信息保存到session中,下一次登錄時瀏覽器根據(jù)自己的SESSIONID就可以找到對應的session,就不要再次登錄了,可以從Chrome瀏覽器中看到。
3、效果驗證
3.1、訪問localhost:8081/index頁面:

被重定向到了localhost:8081/login,實現(xiàn)了登錄攔截。
3.2、正確輸入用戶名和密碼登錄

3.3、再次訪問localhost:8081/index

沒有再次被登錄攔截器攔截,證明可以保持登錄。
推薦閱讀:
最近面試BAT,整理一份面試資料《Java面試BATJ通關(guān)手冊》,覆蓋了Java核心技術(shù)、JVM、Java并發(fā)、SSM、微服務、數(shù)據(jù)庫、數(shù)據(jù)結(jié)構(gòu)等等。
朕已閱 