
AutoML:訓(xùn)練模型以識別凹坑
點擊下方卡片,關(guān)注“新機器視覺”公眾號
重磅干貨,第一時間送達
我們該怎么辦?
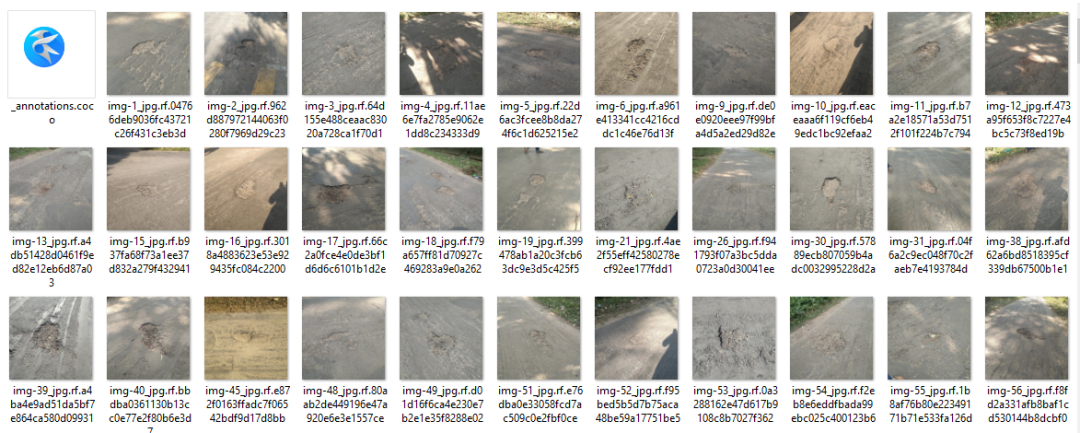
1-準(zhǔn)備數(shù)據(jù)集
_annotations.coco.json,一個包含images、categories和annotations的json文件 圖像本身(.jpg文件)
images:包含有關(guān)數(shù)據(jù)集圖像的信息(id、文件名、大小等) categories:邊界框類別的名稱和id annotations:包含有關(guān)對象的信息,包括邊界框坐標(biāo)(在此數(shù)據(jù)集中,它們位于絕對坐標(biāo))、對象的圖像id和類別id
from?azureml.core?import?Workspace

workspace?=?Workspace.from_config()?#?如果你在一個aml計算實例上運行notebook,這是可行的

default_datastore?=?workspace.get_default_datastore()
datastore_name?=?default_datastore.name
{
???"image_url":"AmlDatastore://data_directory/../Image_name.image_format",
???"image_details":{
??????"format":"image_format",
??????"width":"image_width",
??????"height":"image_height"
???},
???"label":[
??????{
?????????"label":"class_name_1",
?????????"topX":"xmin/width",
?????????"topY":"ymin/height",
?????????"bottomX":"xmax/width",
?????????"bottomY":"ymax/height",
?????????"isCrowd":"isCrowd"
??????},
??????{
?????????"label":"class_name_2",
?????????"topX":"xmin/width",
?????????"topY":"ymin/height",
?????????"bottomX":"xmax/width",
?????????"bottomY":"ymax/height",
?????????"isCrowd":"isCrowd"
??????},
??????"..."
???]
}
#?從coco文件生成訓(xùn)練jsonl文件
!python?coco2jsonl.py?\
--input_coco_file_path?"./potholeObjects/train/_annotations.coco.json"?\
--output_dir?"./potholeObjects/train"?--output_file_name?"train_pothole_from_coco.jsonl"?\
--task_type?"ObjectDetection"?\
--base_url?"AmlDatastore://{datastore_name}/potholeObjects/train/"
from?azureml.core?import?Dataset
from?azureml.data.datapath?import?DataPath
from?azureml.data?import?DataType
#?上傳文件到數(shù)據(jù)存儲
Dataset.File.upload_directory(
????src_dir="./potholeObjects/train/",?target=DataPath(default_datastore,?"/potholeObjects/train"),?show_progress=True
)
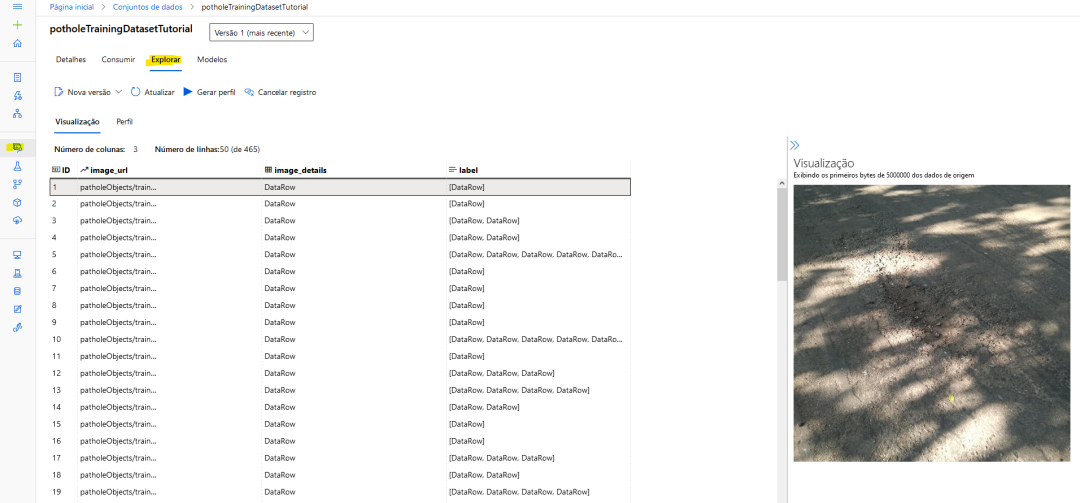
training_dataset_name?=?"potholeObjectesTrainingDataset"
#?創(chuàng)建數(shù)據(jù)集
training_dataset?=?Dataset.Tabular.from_json_lines_files(
????????path=DataPath(default_datastore,?"/potholeObjects/train/train_pothole_from_coco.jsonl"),
????????set_column_types={"image_url":?DataType.to_stream(default_datastore.workspace)},
)
#?在工作區(qū)中注冊數(shù)據(jù)集
training_dataset?=?training_dataset.register(
????????workspace=workspace,?name=training_dataset_name
)
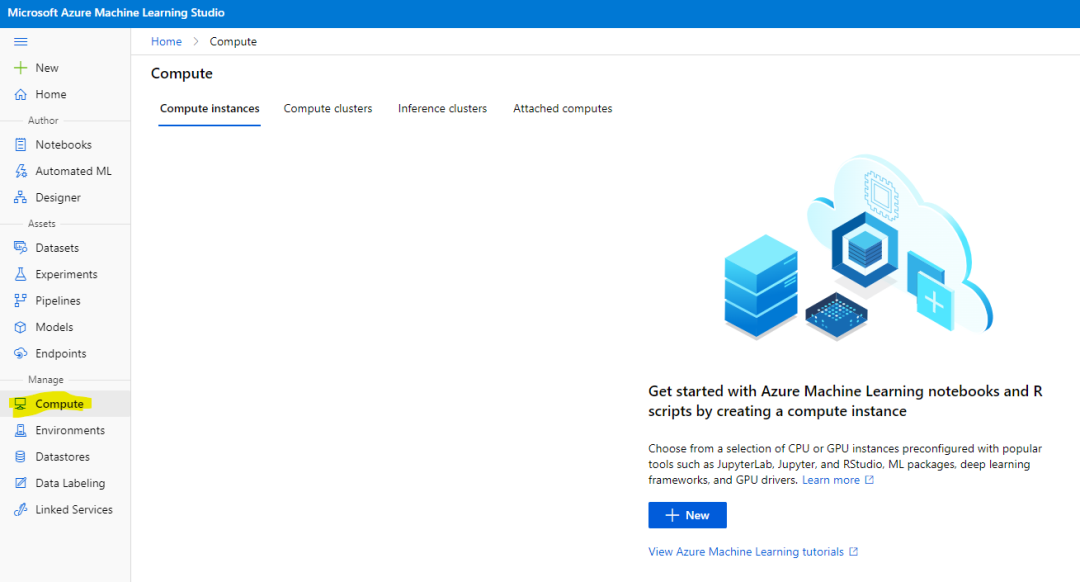
2.進行實驗
from?azureml.core?import?Experiment

experiment_name?=?"pothole-yolov5-model"
experiment?=?Experiment(workspace,?name=experiment_name)

compute_target?=?workspace.compute_targets['gpu-computer']?#?給計算實例的名稱
from?azureml.automl.core.shared.constants?import?ImageTask
from?azureml.train.automl?import?AutoMLImageConfig
from?azureml.train.hyperdrive?import?GridParameterSampling,?choice

automl_config_yolov5?=?AutoMLImageConfig(
????task=ImageTask.IMAGE_OBJECT_DETECTION,
????compute_target=compute_target,
????training_data=training_dataset,
????validation_data=validation_dataset,
????hyperparameter_sampling=GridParameterSampling({"model_name":?choice("yolov5")}),
????iterations=1,
)
automl_image_run?=?experiment.submit(automl_config_yolov5)
from?azureml.automl.core.shared.constants?import?ImageTask
from?azureml.train.automl?import?AutoMLImageConfig
from?azureml.train.hyperdrive?import?BanditPolicy,?RandomParameterSampling
from?azureml.train.hyperdrive?import?choice,?uniform

parameter_space?=?{
????"model":?choice(
????????{
????????????"model_name":?choice("yolov5"),
????????????"learning_rate":?uniform(0.0001,?0.01),
????????????"model_size":?choice("small",?"medium"),??#?模型相關(guān)
????????????#'img_size':?choice(640,?704,?768),?#?特定型號;可能需要有大內(nèi)存的GPU
????????},
????????{
????????????"model_name":?choice("fasterrcnn_resnet50_fpn"),
????????????"learning_rate":?uniform(0.0001,?0.001),
????????????"optimizer":?choice("sgd",?"adam",?"adamw"),
????????????"min_size":?choice(600,?800),??#?模型相關(guān)
????????????#'warmup_cosine_lr_warmup_epochs':?choice(0,?3),
????????},
????),
}

tuning_settings?=?{
????"iterations":?10,
????"max_concurrent_iterations":?2,
????"hyperparameter_sampling":?RandomParameterSampling(parameter_space),
????"early_termination_policy":?BanditPolicy(
????????evaluation_interval=2,?slack_factor=0.2,?delay_evaluation=6
????),
}

automl_image_config?=?AutoMLImageConfig(
????task=ImageTask.IMAGE_OBJECT_DETECTION,
????compute_target=compute_target,
????training_data=training_dataset,
????validation_data=validation_dataset,
????**tuning_settings,
)
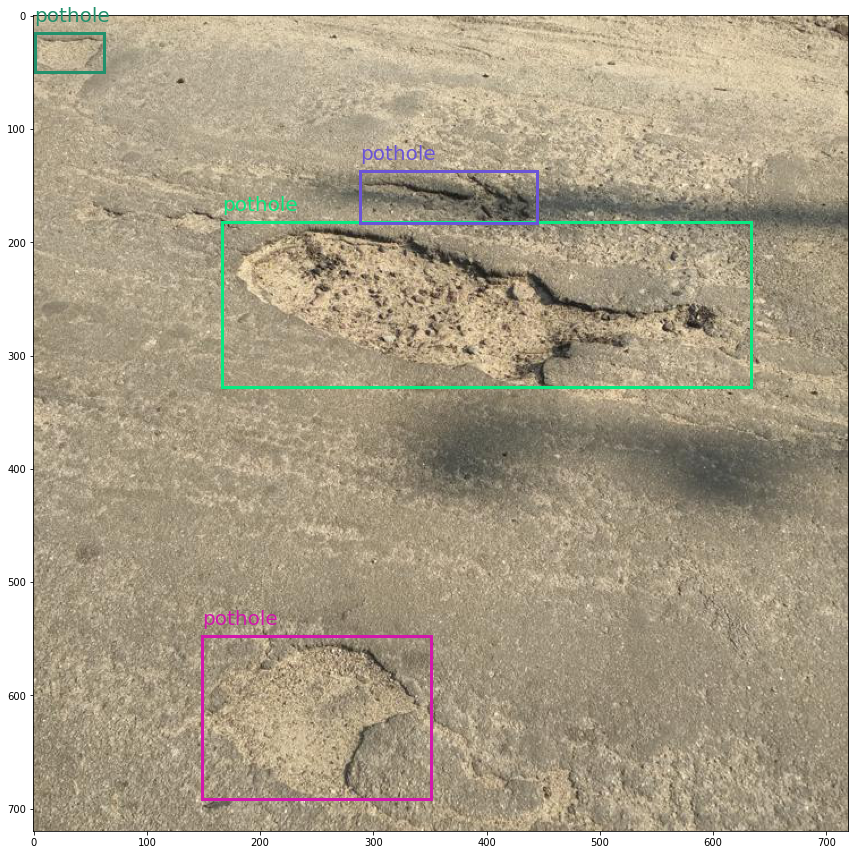
3-將預(yù)測可視化
best_child_run?=?automl_image_run.get_best_child()

model_name?=?best_child_run.properties["model_name"]
model_output_path?=?best_child_run.properties["model_output_path"]

#?從最佳運行中注冊模型
model?=?best_child_run.register_model(
????model_name=model_name,?model_path=model_output_path
)
from?azureml.contrib.automl.dnn.vision.common.model_export_utils?import?load_model,?run_inference
from?azureml.contrib.automl.dnn.vision.object_detection_yolo.writers.score?import?_score_with_model

TASK_TYPE?=?'image-object-detection'
model_settings?=?{"img_size":?640,?"model_size":?"medium",?"box_score_thresh":?0.1,?"box_iou_thresh":?0.5}

model_wrapper?=?load_model(TASK_TYPE,?'model.pt',?**model_settings)

sample_image?=?"./img-23_jpg.rf.e6aa0daf83e72ccbf1ea10eb6a6ab3bd.jpg"
with?open(sample_image,?'rb')?as?f:
????bytes_img?=?f.read()
????
model_response?=?run_inference(model_wrapper,?bytes_img,?_score_with_model)

最后
本文僅做學(xué)術(shù)分享,如有侵權(quán),請聯(lián)系刪文。
評論
圖片
表情