
微服務(wù)的注冊(cè)與發(fā)現(xiàn):如何集成Eureka Server?
如何集成Eureka Server
本節(jié)將創(chuàng)建一個(gè)基于Eureka Server實(shí)現(xiàn)的注冊(cè)服務(wù)器。由于Spring Cloud項(xiàng)目本身也是基于Spring Boot的,因此,我們可以基于現(xiàn)有的Spring Boot來(lái)進(jìn)行更改。
以前面創(chuàng)建的hello-world應(yīng)用作為基礎(chǔ),改造成為新的應(yīng)用micro-weather-eureka- server。
所需環(huán)境
為了演示本例,需要采用如下開(kāi)發(fā)環(huán)境。
JDK 8。
●Gradle 4.0。
●Spring Boot 2.0.0.M3。
●Spring Cloud Starter Netflix Eureka Server Finchley.M2。
更改build.gradle配置
與hello-world相比,
micro-weather-eureka-server 應(yīng)用的build.gradle 配置的變化,主要體現(xiàn)在以下幾點(diǎn)。
●springBootVersion 變量指定了Spring Boot的版本,這里設(shè)定為2.0.0.M3,而非之前的2.0.0.M4。
因?yàn)樽钚碌腟pring Cloud并未對(duì)Spring Boot 2.0.0.M4做好兼容。
添加了springCloudVersion變量,用于指定Spring Cloud的版本。目前,本書(shū)中主要用了Finchley.M2版本。
在dependencyManagement (依賴(lài)管理)中,我們導(dǎo)入了Spring Cloud的依賴(lài)的管理。
最為重要的是,在依賴(lài)中,我們添加了Spring Cloud Starter Netlix Eureka Server依賴(lài)。
micro-weather-eureka-server應(yīng)用的build.gradle詳細(xì)配置如下。
// buildscript 代碼塊中腳本優(yōu)先執(zhí)行
buildscript {
// ext用于定義動(dòng)態(tài)屬性
ext {
springBootversion = '2.0.0.M3'
//使用了Maven的中央倉(cāng)庫(kù)及Spring自己的倉(cāng)庫(kù)(也可以指定其他倉(cāng)庫(kù))
repositories {
/ /mavenCentral()
maven { url "https://repo. spring. io/snapshot" }
maven { url "https://repo. spring. io/milestone" }
maven { url "http:/ /maven. aliyun. com/ nexus/ content/groups/
public/" }
//依賴(lài)關(guān)系
dependencies {
// classpath聲明 了在執(zhí)行其余的腳本時(shí),ClassLoader 可以使用這些依賴(lài)項(xiàng)
classpath ("org. springframework . boot :spring-boot-gradle-plugin:
${ springBootVersion}")
}
//使用插件
apply plugin: 'java'
apply plugin: 'eclipse'
apply plugin: ' org. springf ramework . boot'
apply plugin: ' io. spring .dependency-management'
//指定了生成的編譯文件的版本,默認(rèn)是打成了jar包
group = ' com. waylau. spring.cloud'
version = '1.0.0'
//指定編譯. java文件的JDK版本
sourceCompatibility =1.8
//使用了Maven的中央倉(cāng)庫(kù)及Spr ing自己的倉(cāng)庫(kù)(也可以指定其他倉(cāng)庫(kù))
repositories
/ /mavenCentral ()
maven { url "https:// repo.spring. io/ snapshot" }
maven { url "https://repo. spring. io/milestone" }
maven { url "http: //maven. aliyun. com/ nexus/content/groups/public/"
ext
springCloudVersion = 'Finchley .M2 '
dependencies {
//添加Spring Cloud Starter Netflix Eureka Server依賴(lài)
compile ('org. springf ramework. cloud:spring-cloud-starter-netflix-
eureka-server')
//該依賴(lài)用于測(cè)試階段
tes tCompile ( 'org. spr ingf ramework . boot: spring-boot-starter-test')
dependencyManagement{
imports {
mavenBom "org. spr ingf ramework.cloud:spring-cloud-dependencies:
$ {springCloudVersion}"
其中,Spring Cloud Starter Netlix Eureka Server自身又依賴(lài)了如下的項(xiàng)目。
<dependencies>
<dependency>
<groupId>org.spr ingframework.cloudgroupId>
<arti factId>spring-cloud-starterarti factId>
dependency>
<dependency>
<groupId>org. spr ingf ramework.cloudgroupId>
<arti factId>spring-cloud-netflix-eureka-serverartifactId>
dependency>
<dependency>
<groupId>org. spr ingframework. cloudgroupId>
<arti factId>spring-cloud-starter-netflix-archaiusarti factId>
dependency>
<dependency>
<groupId>org . springfr amework.cloudgroupId>
<arti factId> spring-cloud-starter -netflix- ribbonarti factId>
dependency>
<dependency>
<groupId>com. netflix. ribbongroupId>
<artifactId> ribbon-eurekaartifactId>
dependency>
dependencies>
所有配置都能夠在Spring Cloud Starter Netlix Eureka Server項(xiàng)目的porm文件中查看到。
啟用Eureka Server
為了啟用Eureka Server, 在應(yīng)用的根目錄的Application類(lèi)上增加@EnableEurekaServer注解即可。
import org. springframework.boot .SpringApplication;
import org. springf ramework . boot . autoconfigure . Spr ingBootApplication;
import org. springframework. cloud. netflix. eureka.server .EnableEurekaServer;
/**
主應(yīng)用程序.
* @since 1.0.0 2017年10月31日
@author Way Lau
*/
@SpringBootApplication
@EnableEurekaServer
public class Application {
public static void main(String[] args) {
SpringApplication. run (Application.class, args) ;
}
}
該注解就是為了激活Eureka Server相關(guān)的自動(dòng)配置類(lèi)
org.springframework.cloud.ntix.eureka.server.EurekaServerAutoConfiguration。
修改項(xiàng)目配置
修改application.properties,增加如下配置。
server.port: 8761
eureka. instance . hostname: localhost
eureka. client. registerWithEureka: false
eureka.client. fetchRegistry: false
eureka. client. serviceUrl . defaultZone: http:/ /${eureka. instance. hostname} :
${server . port}/eureka/
其中:
server.port:指明了應(yīng)用啟動(dòng)的端口號(hào);
eureka.instance.hostname:應(yīng)用的主機(jī)名稱(chēng);
●
eureka.client.registerWithEureka: 值為false 意味著自身僅作為服務(wù)器,不作為客戶端;
eureka.client.fetchRegstry:值為false 意味著無(wú)須注冊(cè)自身;
●
eureka.client.serviceUrl.defaultZone: 指明了應(yīng)用的URL。
清空資源目錄
在src/main/resources目錄下,除了application.properties 文件外,其他沒(méi)有用到的目錄或文件都刪除,特別是templates目錄,因?yàn)檫@個(gè)目錄會(huì)覆蓋Eureka Server自帶的管理界面。
啟動(dòng)
啟動(dòng)應(yīng)用,訪問(wèn)htt:/tcalhost:8761,可以看到如圖8-1所示的Eureka Server自帶的UI管理界面。
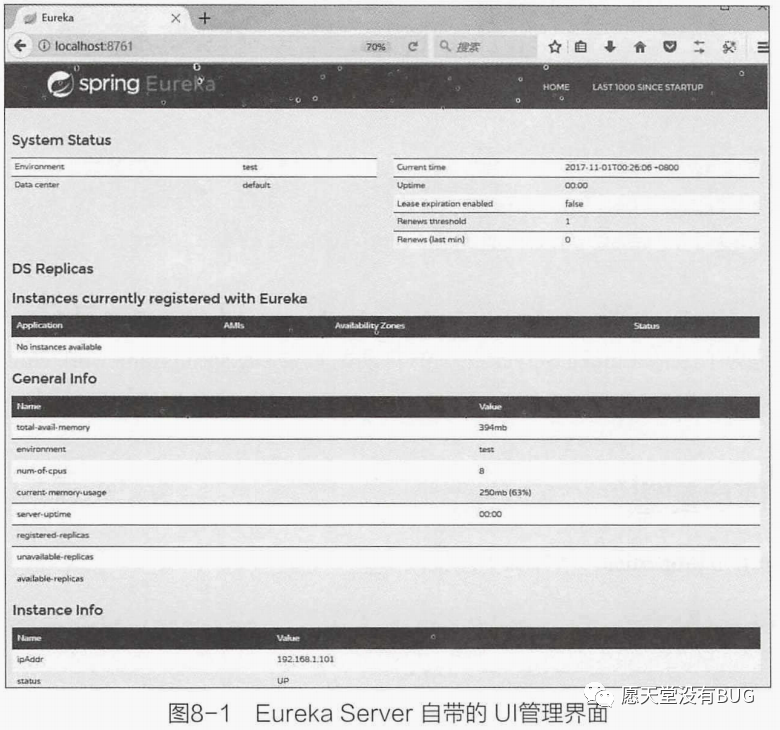
自此,Eureka Server注冊(cè)服務(wù)器搭建完畢。
本篇文章給大家講解的內(nèi)容是如何集成Eureka Server
下篇文章給大家講解如何集成Eureka Client;
覺(jué)得文章不錯(cuò)的朋友可以轉(zhuǎn)發(fā)此文關(guān)注小編;
感謝大家的支持!
本文就是愿天堂沒(méi)有BUG給大家分享的內(nèi)容,大家有收獲的話可以分享下,想學(xué)習(xí)更多的話可以到微信公眾號(hào)里找我,我等你哦。