
SpringBoot集成頁面更清爽的Swagger-Bootstrap-UI
點(diǎn)擊上方 Java學(xué)習(xí)之道,選擇 設(shè)為星標(biāo)
作者: youcongtech
參考: https://segmentfault.com/a/1190000038170506Part1背景
之前在創(chuàng)業(yè)公司待的時(shí)候,用過swagger,因?yàn)槲业谝惶靵磉@家公司工作,第一個(gè)任務(wù)就是做接口文檔自動(dòng)化。
后來覺得它不太好用,在瀏覽技術(shù)網(wǎng)站的時(shí)候,偶然發(fā)現(xiàn)swagger-bootstrap-ui,于是便重構(gòu)了,把swagger-bootstrap-ui整合進(jìn)來,后來發(fā)現(xiàn)不僅僅對(duì)我們后端有幫助,主要方便我們將接口進(jìn)行歸類,同樣對(duì)安卓小伙伴也有幫助,他們可以看這個(gè)接口文檔進(jìn)行聯(lián)調(diào)。當(dāng)初我使用swagger-boostrap-ui的時(shí)候,那個(gè)時(shí)候還是1.x版本,如今swagger-bootsrap-ui到2.x,同時(shí)也更改名字knife4j,適用場(chǎng)景從過去的單體到微服務(wù)。也算是見證咱們國人自己的開源項(xiàng)目從小到大。
該開源項(xiàng)目GitHub地址: https://github.com/xiaoymin/Swagger-Bootstrap-UI
該開源項(xiàng)目中文文檔地址: https://doc.xiaominfo.com/
Part2添加Maven依賴
<dependency>
    <groupId>io.springfox</groupId>
    <artifactId>springfox-swagger2</artifactId>
    <version>2.9.2</version>
</dependency>
<dependency>
    <groupId>com.github.xiaoymin</groupId>
    <artifactId>swagger-bootstrap-ui</artifactId>
    <version>1.9.6</version>
</dependency>
Part3添加配置類
package com.blog.tutorial.config;
import com.github.xiaoymin.swaggerbootstrapui.annotations.EnableSwaggerBootstrapUI;
import org.springframework.context.annotation.Bean;
import org.springframework.context.annotation.Configuration;
import springfox.documentation.builders.ApiInfoBuilder;
import springfox.documentation.builders.PathSelectors;
import springfox.documentation.builders.RequestHandlerSelectors;
import springfox.documentation.service.ApiInfo;
import springfox.documentation.spi.DocumentationType;
import springfox.documentation.spring.web.plugins.Docket;
import springfox.documentation.swagger2.annotations.EnableSwagger2;

@Configuration
@EnableSwagger2
@EnableSwaggerBootstrapUI
public class SwaggerConfiguration {
@Bean
public Docket createRestApi() {
        return new Docket(DocumentationType.SWAGGER_2)
                .apiInfo(apiInfo())
                .select()
                .apis(RequestHandlerSelectors.basePackage("com.blog.tutorial.controller"))
                .paths(PathSelectors.any())
                .build();
    }
    private ApiInfo apiInfo() {
        return new ApiInfoBuilder()
                .title("swagger-bootstrap-ui RESTful APIs")
                .description("swagger-bootstrap-ui")
                .termsOfServiceUrl("http://localhost:5050/")
                .contact("[email protected]")
                .version("1.0")
                .build();
    }
}
Part4啟動(dòng)項(xiàng)目
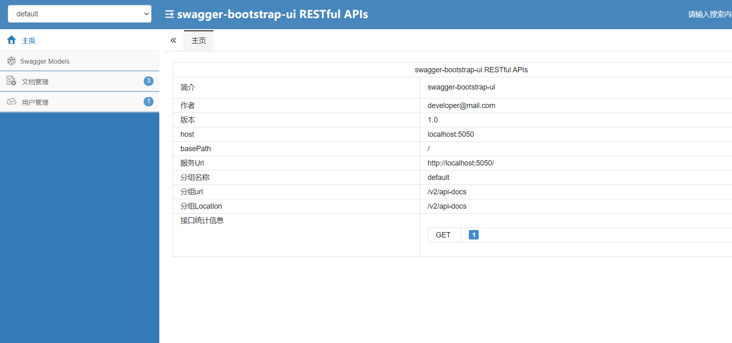
啟動(dòng)項(xiàng)目,不報(bào)錯(cuò),然后訪問地址:http://ip:port/doc.html 即可
效果圖,如下:
測(cè)試接口,效果圖如下:
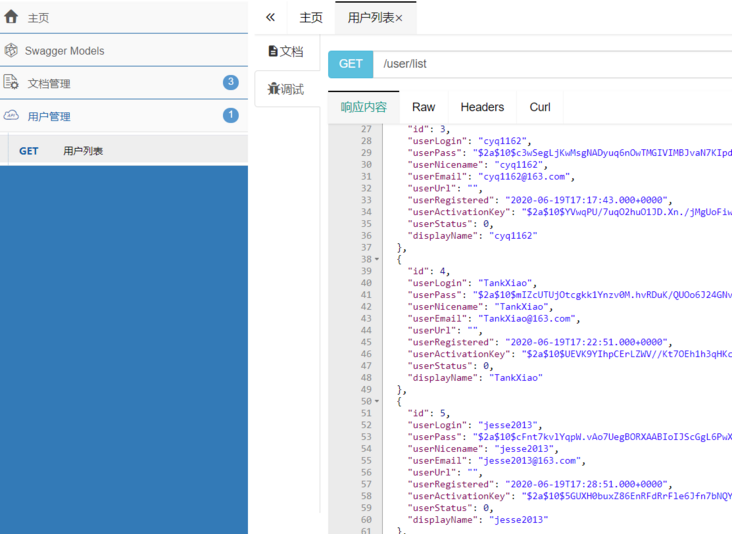
調(diào)式相當(dāng)于用PostMan測(cè)試接口。
Part5常用注解
和swagger一樣,swagger用的注解,swagger-bootstrap-ui仍能用。不過結(jié)合我的開發(fā)經(jīng)驗(yàn)來看,最常用的也就兩個(gè),@Api和@ApiOperation。
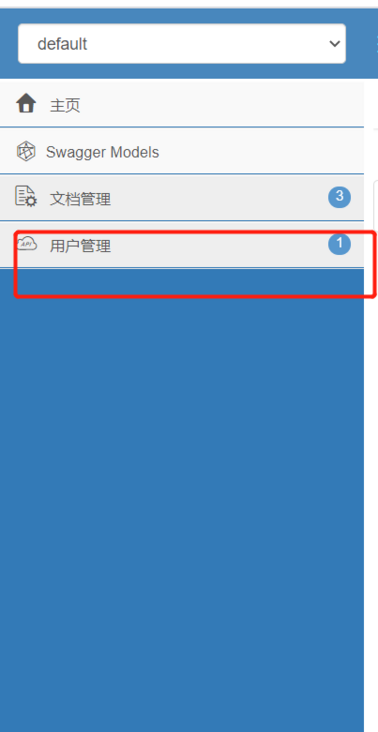
@Api 的效果,如圖:
@ApiOperation 的效果,如圖:
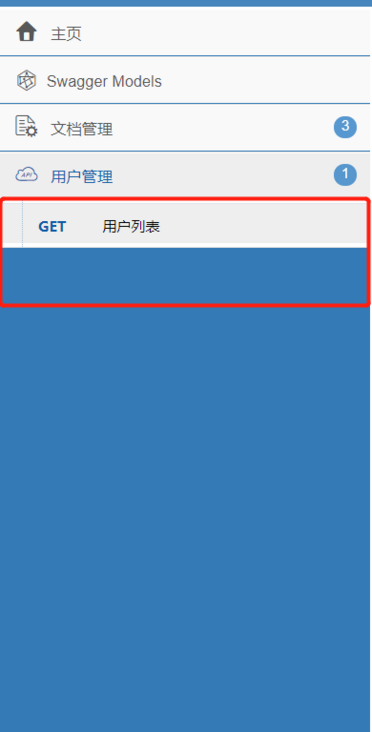
由此,我們很容易就看出來,它們的含義是什么,一個(gè)是接口分類說明,一個(gè)是接口方法說明。
至于這里不用swagger的參數(shù)注解,主要原因是不想加太多的注解從而增加代碼的數(shù)量,造成太多冗余。
例子中的Controller代碼:
package com.blog.tutorial.controller;
import com.blog.tutorial.entity.Users;
import com.blog.tutorial.service.UsersService;
import io.swagger.annotations.Api;
import io.swagger.annotations.ApiOperation;
import org.springframework.beans.factory.annotation.Autowired;
import org.springframework.web.bind.annotation.GetMapping;
import org.springframework.web.bind.annotation.RequestMapping;
import org.springframework.web.bind.annotation.RestController;
import java.util.List;

@RestController
@RequestMapping("/user")
@Api(tags = {"用戶管理"}, description = "用戶管理")
public class UserController {
    @Autowired
 private UsersService usersService;
    @GetMapping("/list")
    @ApiOperation(value = "用戶列表")
    public List<Users> list() {
        return usersService.list();
    }
}
Part6最后、可能遇到的問題
1.訪問不到接口文檔界面白版
一般是被攔截了(shiro或springsecurity機(jī)制)或者是配置錯(cuò)誤。
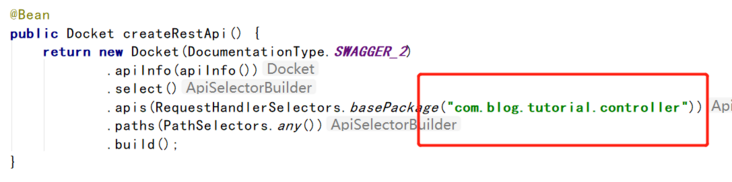
2.訪問接口文檔界面出來了,但掃描不到接口
主要是配置類的緣故,配置類有個(gè)包掃描,必須配置為controller路徑。如圖所示:
如果還有其它問題,可以去官方文檔上找,官方文檔有一個(gè)常規(guī)問題列表和解決方案,如圖所示:
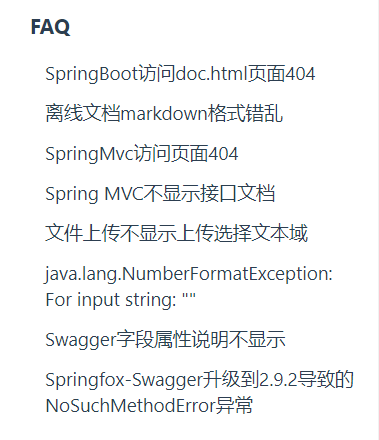
如果問題非常奇葩的話,實(shí)在解決不了(在參考官方文檔說明和搜索的前提下,仍解決不了,把問題詳細(xì)描述和關(guān)鍵性代碼提到該開源項(xiàng)目的issue上,向創(chuàng)造者求助)。
- 態(tài)黑色音符") | 更多精彩文章 -
| 更多精彩文章 -

                     ▽加我微信,交個(gè)朋友


                      長按/掃碼添加↑↑↑

