
手把手教你使用 YOLOV5 訓(xùn)練目標(biāo)檢測(cè)模型
來(lái)自于點(diǎn)擊下方卡片,關(guān)注“新機(jī)器視覺”公眾號(hào)
視覺/圖像重磅干貨,第一時(shí)間送達(dá)
作者 |?肆十二
來(lái)源 | CSDN博客
conda config --remove-key channelsconda config --add channels https://mirrors.ustc.edu.cn/anaconda/pkgs/main/conda config --add channels https://mirrors.ustc.edu.cn/anaconda/pkgs/free/conda config --add channels https://mirrors.bfsu.edu.cn/anaconda/cloud/pytorch/conda config --set show_channel_urls yespip?config?set?global.index-url?https://mirrors.ustc.edu.cn/pypi/web/simple
conda create -n yolo5 python==3.8.5conda?activate?yolo5
安裝之前一定要先更新你的顯卡驅(qū)動(dòng),去官網(wǎng)下載對(duì)應(yīng)型號(hào)的驅(qū)動(dòng)安裝
30系顯卡只能使用cuda11的版本
一定要?jiǎng)?chuàng)建虛擬環(huán)境,這樣的話各個(gè)深度學(xué)習(xí)框架之間不發(fā)生沖突
conda install pytorch==1.8.0 torchvision torchaudio cudatoolkit=10.2 # 注意這條命令指定Pytorch的版本和cuda的版本conda?install?pytorch==1.8.0?torchvision==0.9.0?torchaudio==0.8.0?cpuonly?#?CPU的小伙伴直接執(zhí)行這條命令即可
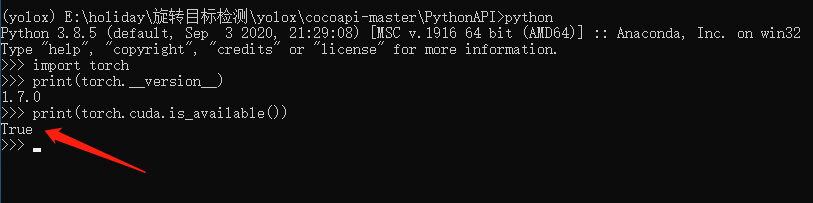
安裝完畢之后,我們來(lái)測(cè)試一下GPU是否
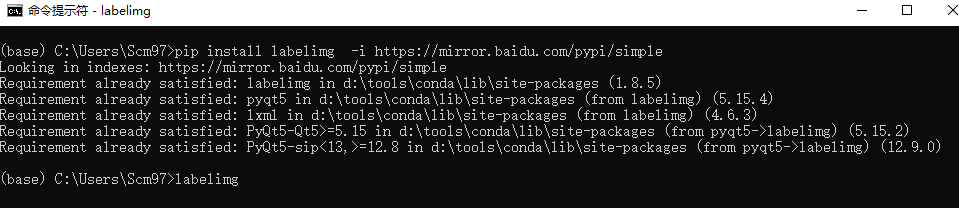
pip?install?pycocotools-windowspip install -r requirements.txtpip install pyqt5pip?install?labelme
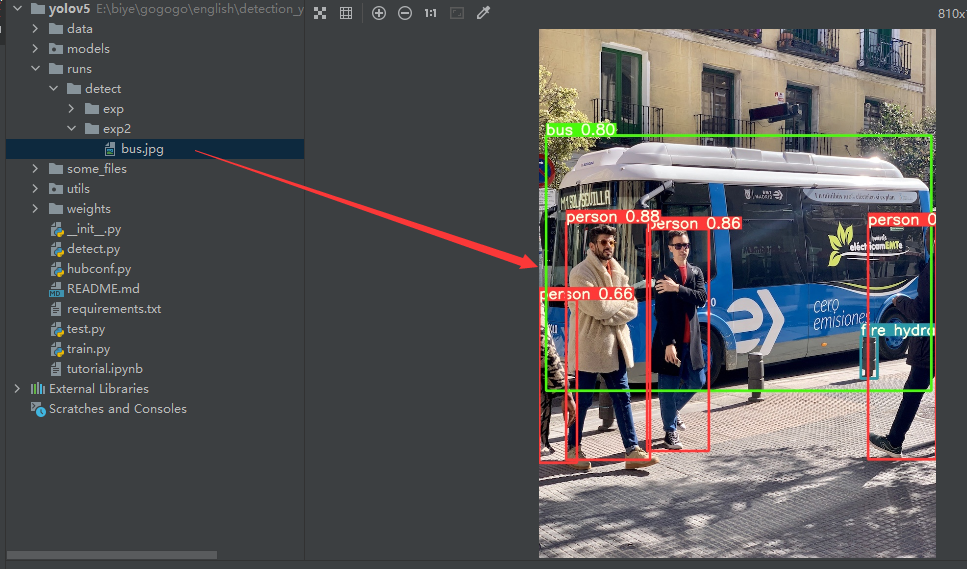
python?detect.py?--source?data/images/bus.jpg?--weights?pretrained/yolov5s.pt
python detect.py --source 0 # webcamfile.jpg # imagefile.mp4 # videopath/ # directorypath/*.jpg # glob'https://youtu.be/NUsoVlDFqZg' # YouTube video????????????????????????????'rtsp://example.com/media.mp4'??#?RTSP,?RTMP,?HTTP?stream
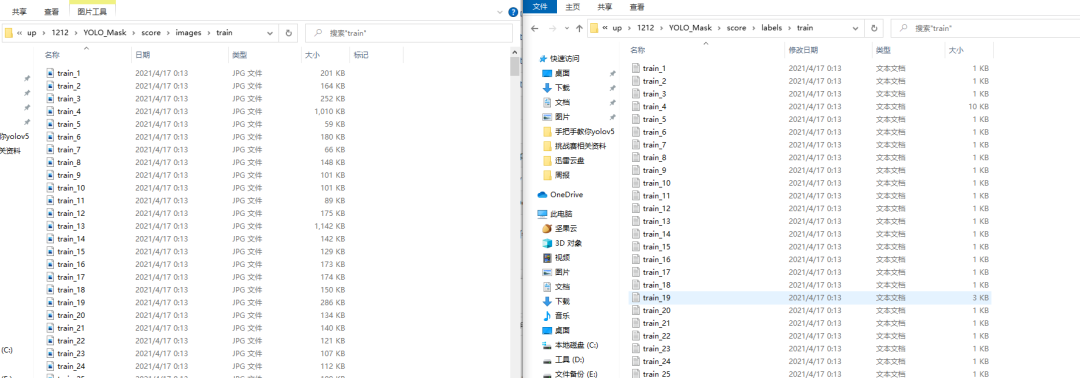
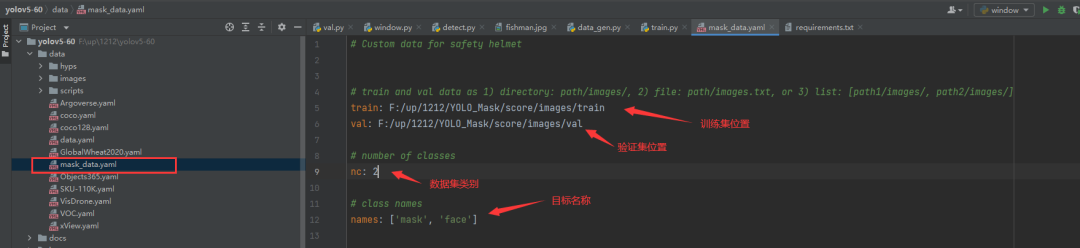
YOLO_Mask└─ score├─ images│ ├─ test # 下面放測(cè)試集圖片│ ├─ train # 下面放訓(xùn)練集圖片│ └─ val # 下面放驗(yàn)證集圖片└─ labels├─ test # 下面放測(cè)試集標(biāo)簽├─ train # 下面放訓(xùn)練集標(biāo)簽??????????????├─?val?#?下面放驗(yàn)證集標(biāo)簽
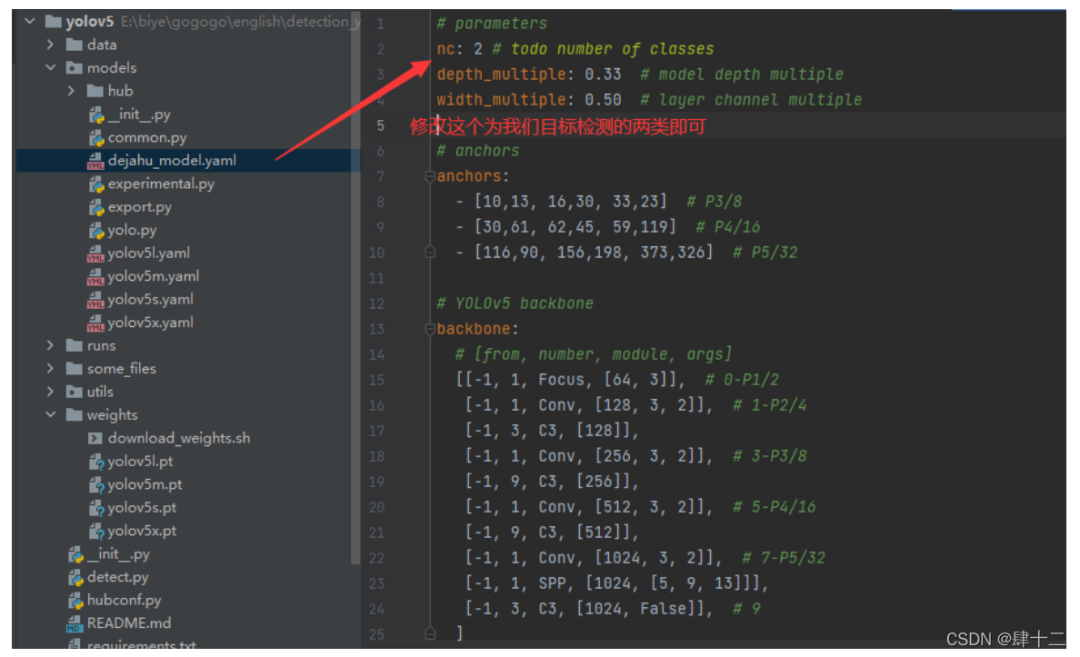
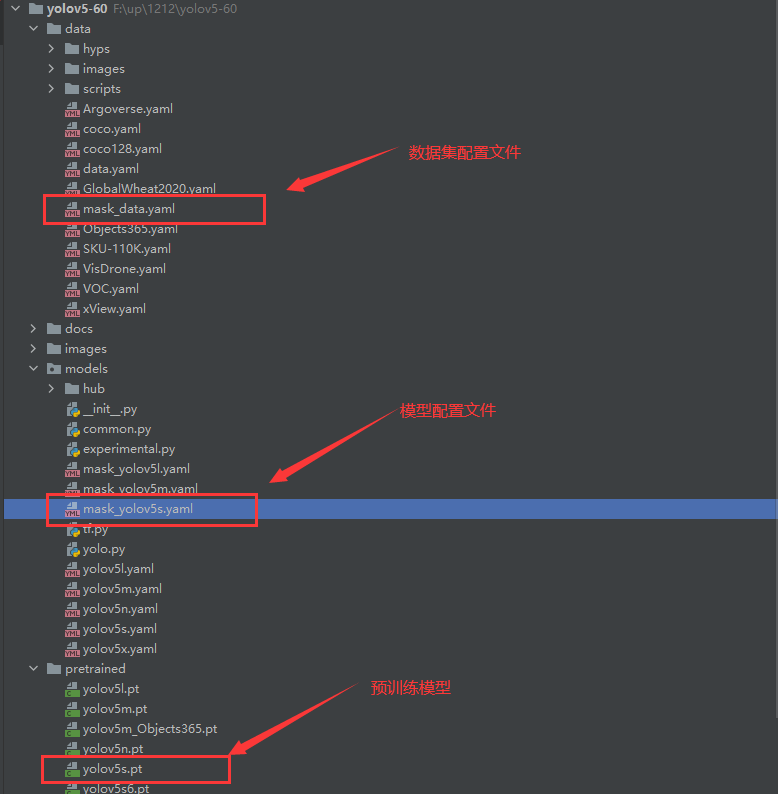
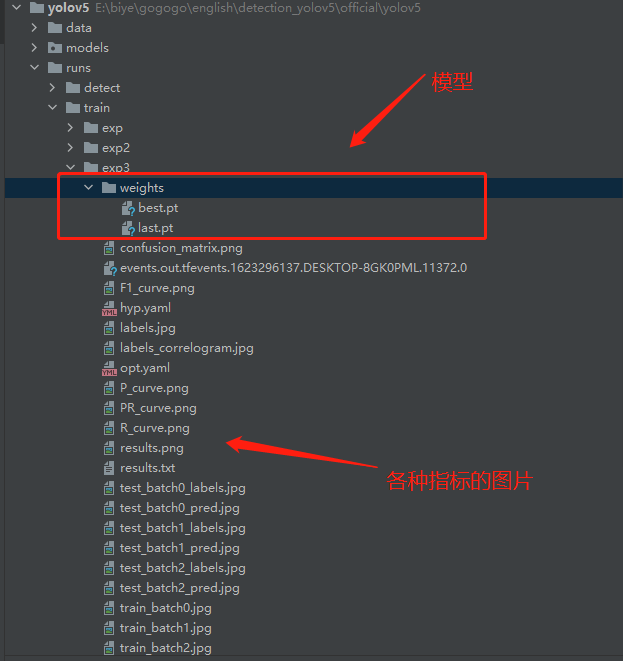
python?train.py?--data?mask_data.yaml?--cfg?mask_yolov5s.yaml?--weights?pretrained/yolov5s.pt?--epoch?100?--batch-size?4?--device?cpu

本文僅做學(xué)術(shù)分享,如有侵權(quán),請(qǐng)聯(lián)系刪文。
評(píng)論
圖片
表情