
用 Python 使用 Google Colab?豈止是炫酷
(點擊上方快速關注并設置為星標,一起學Python)
選自Medium
作者:Towards AI Team
機器之心編譯
機器之心編輯部
這篇文章教你如何使用 Google Colab,更好地利用免費資源。
提供了免費的 Jupyter notebook 環(huán)境;
帶有預安裝的軟件包;
完全托管在谷歌云上;
用戶無需在服務器或工作站上進行設置;
Notebook 會自動保存在用戶的 Google Drive 中;
提供基于瀏覽器的 Jupyter notebook;
完全免費,且提供 GPU 和 TPU(Pro 用戶可以使用更多資源,但需要付費);
支持 Python 2 和 Python 3;
提供兩種硬件加速器:GPU 和 TPU。
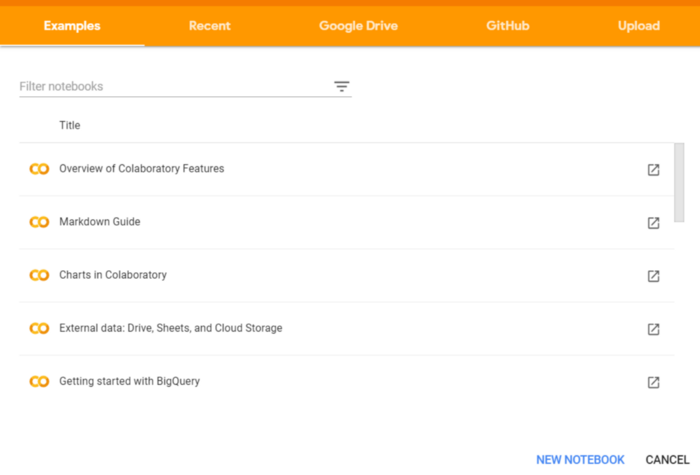
啟動 Google Colab
從彈框中選擇 GitHub 這一項。
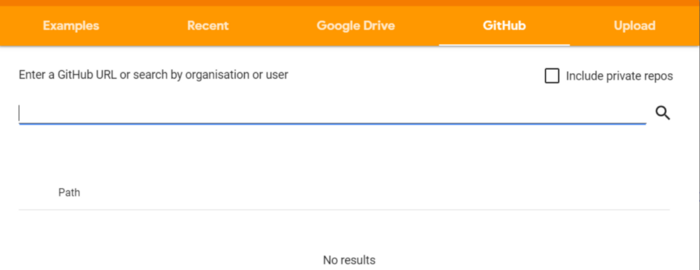
輸入 GitHub 項目 URL 并搜索以獲取代碼

將完整代碼一鍵上傳到 Google Colab notebook

打開 Kaggle
轉至「我的賬戶」
向下滾動到「API」部分

如果需要,先單擊「Expire API Token」以刪除先前的 token
點擊「Create New API Token」,生成一個新的 token 并下載一個名為「kaggle.json」的 JSON 文件
「kaggle.json」文件包含用戶名和密鑰,如下所示:

!pip install -q kagglefrom google.colab import filesfiles.upload()
!kaggle datasets list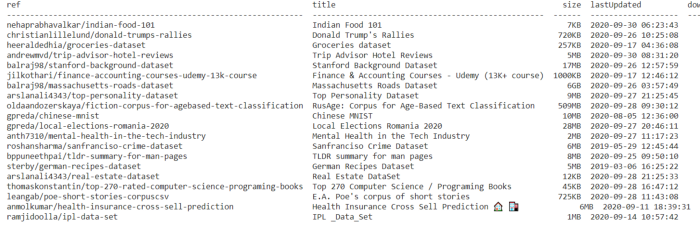
!kaggle competitions download -c competitive-data-science-predict-future-sales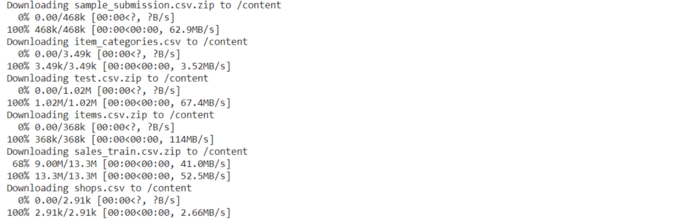
import globimport pandas as pdfrom google.colab import drivedrive.mount('/gdrive')
授權碼輸入框
單擊鏈接并生成授權碼
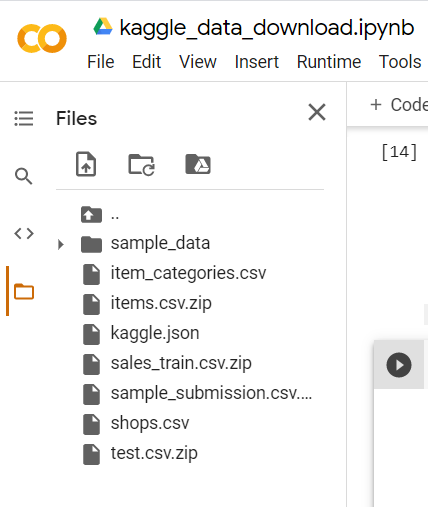
從 Google Drive 讀取 CSV 文件
file_path = glob.glob("/gdrive/My Drive/***.csv")for file in file_path:df = pd.read_csv(file)print(df)


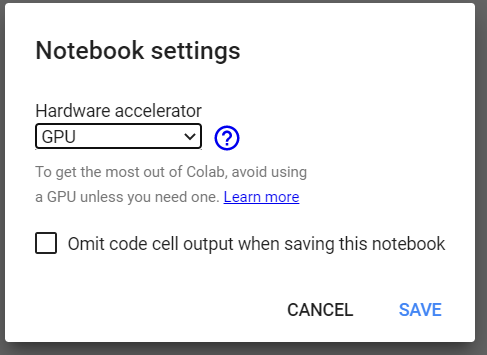
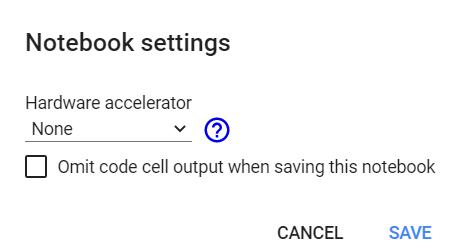
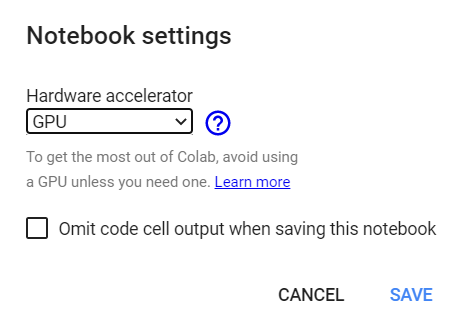
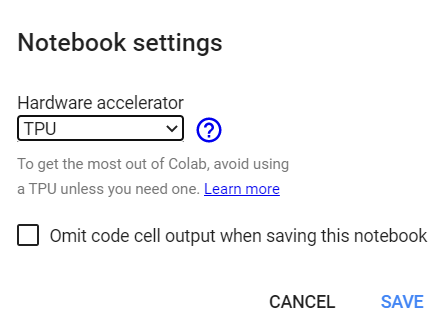
選擇 Runtime → Change runtime type
在彈出窗口中選擇「GPU」
import tensorflow as tffrom tensorflow.python.client import device_libtf.test.gpu_device_name()
device_lib.list_local_devices()
import tensorflow as tfno_of_gpu = len(tf.config.experimental.list_physical_devices('GPU'))print("Total GPUS:", no_of_gpu)
import tensorflow as tfno_of_gpu =len(tf.config.experimental.list_physical_devices('GPU'))print("Total GPUS:", no_of_gpu)
try:with tf.device('/device:GPU:1'):tensor1 = tf.constant([[1.0, 2.0, 3.0], [4.0, 5.0, 6.0]])tensor2 = tf.constant([[1.0, 2.0], [3.0, 4.0], [5.0, 6.0]])result = tf.matmul(tensor1, tensor2)print(result)except?RuntimeError?as?exception:????print(exception)

from?google.colab?import?drivedrive.mount('/content/gdrive')

cd gdrive/My Drive/mkdir project%cd project/
!git clone https://github.com/saniyaparveez/youtube_video_type_prediction.git
!ls
lsmagic
ldir
historytime
!uptime
!free -hprint("-"*100)
!lscpuprint("-"*70)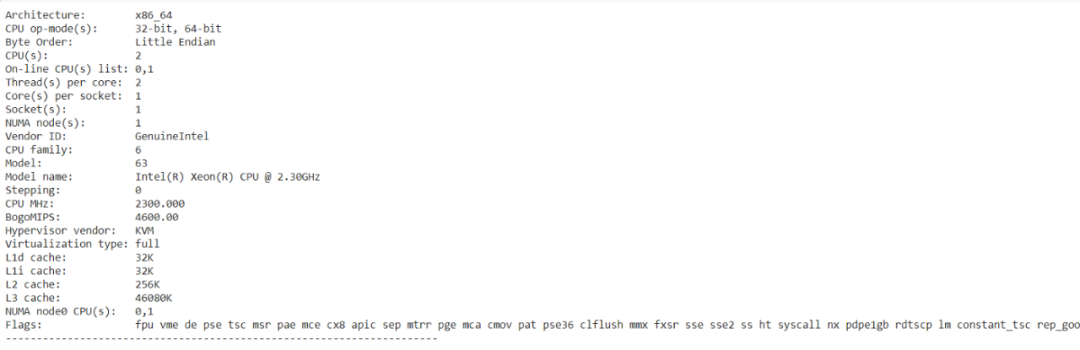
%shecho "List all running VM processes."ps -efecho "Done"
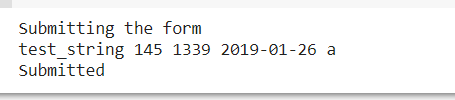
%%html<marquee>Towards AI is a great publication platformmarquee># Personal Details# Information.Name = 'Peter' # {type: "string"}Age = 25 # {type: "slider", min: 1, max: 100}zip = 1234 # {type: "number"}Date = '2020-01-26' # {type: "date"}Gender = "Male" # ['Male', 'Female', 'Other']# ---print("Submitting the form")print(string_type, slider_value, number, date, pick_me)print("Submitted")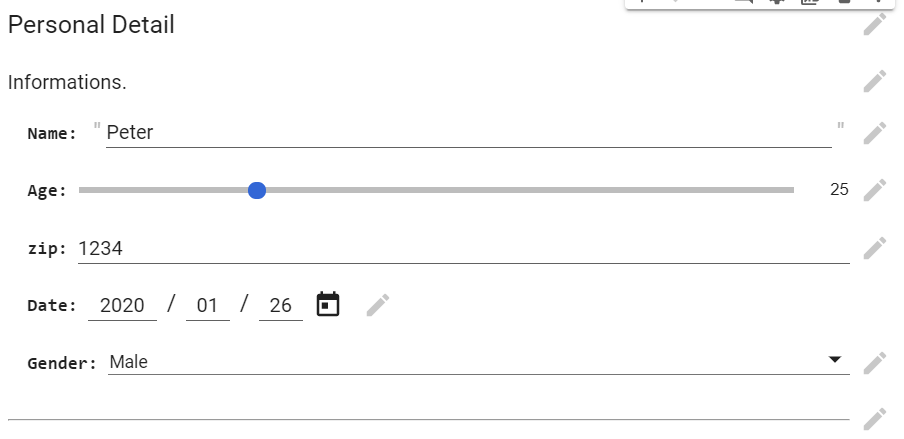
x = np.arange(-10,10)y = np.power(x,3)y1 = np.power(x,3) + np.power(x,2) + xplt.scatter(x,y1,c="red")plt.scatter(x,y)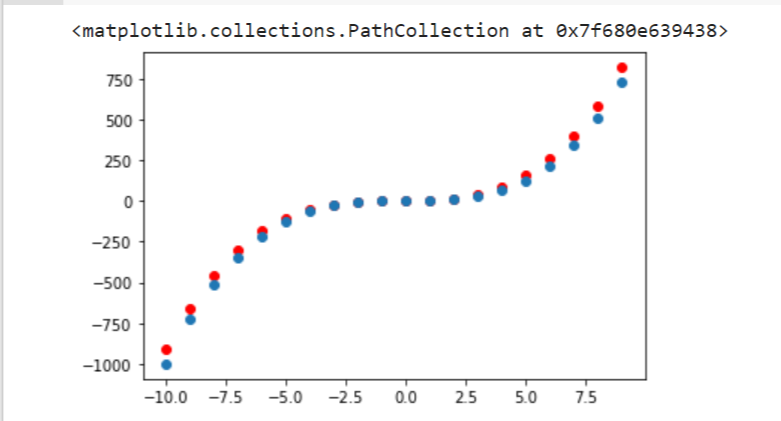
import matplotlib.pyplot as pltimport numpy as npimport seaborn as snslength = 10data = 5 + np.random.randn(length, length)data += np.arange(length)data += np.reshape(np.arange(length), (length, 1))sns.heatmap(data)plt.show()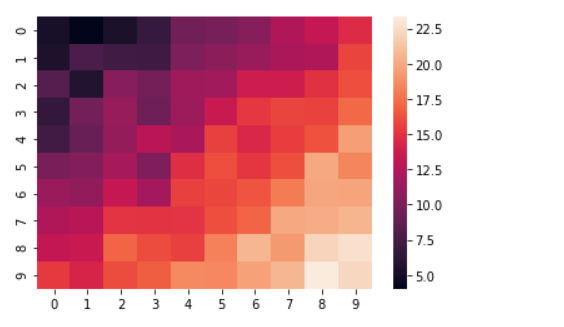
import tensorflow as tftry:tpu = tf.distribute.cluster_resolver.TPUClusterResolver()print('Running on TPU', tpu.cluster_spec().as_dict()['worker'])except?ValueError:????print('Exception')

Google colab 實現:https://colab.research.google.com/drive/1ymIYzFg4Q7iBjnTut31aBqPHgOpkjHYD?usp=sharing
Github repository:https://github.com/towardsai/tutorials/tree/master/google_colab_tutorial
戀習Python 關注戀習Python,Python都好練 好文章,我在看??